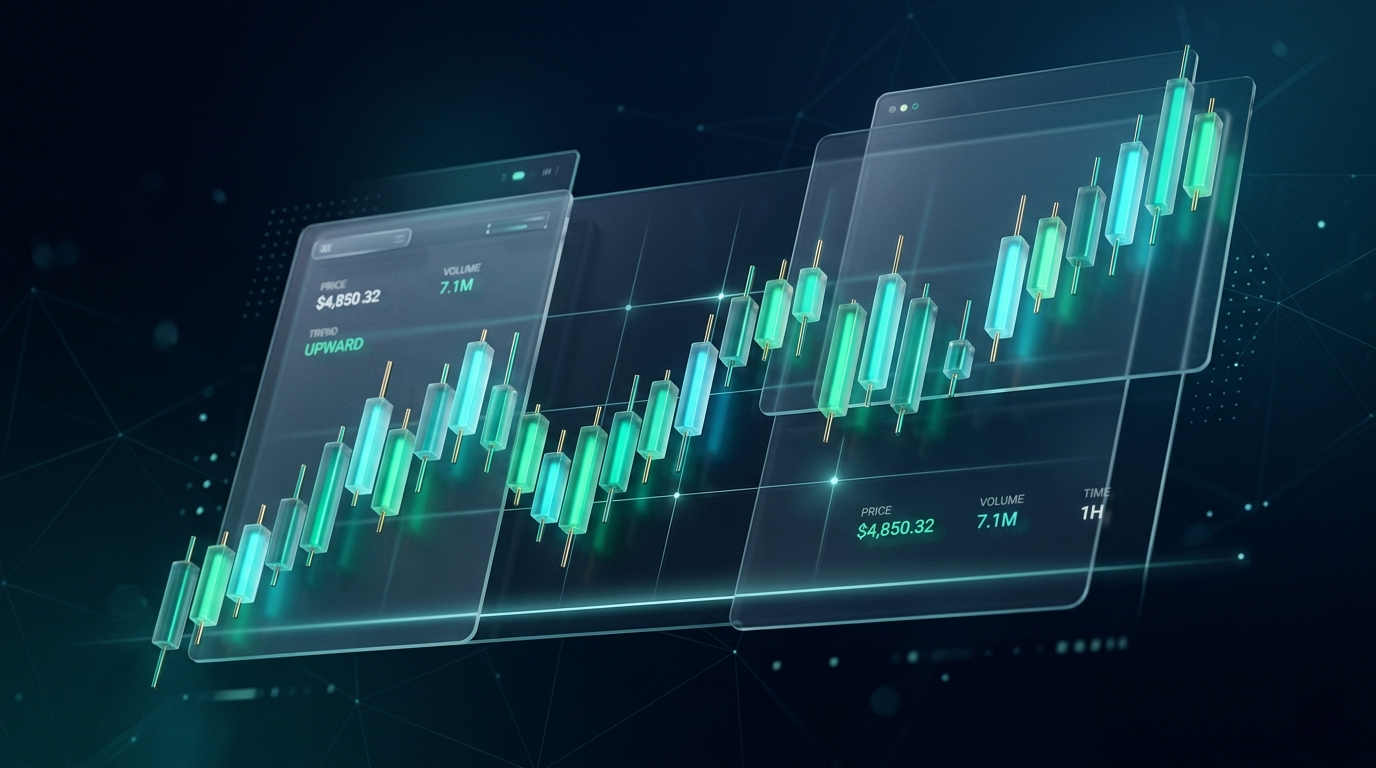
Skip to content
Home » Best Stochastic Settings for 1 Minute Chart + Scalping Strategy With Trend Lines

Best Stochastic Settings for 1 Minute Chart + Scalping Strategy With Trend Lines

  • by

The stochastic oscillator is a tool that measures momentum in the markets. It was originally made for slower trading however, when you’re looking at a 1-minute chart, the action is much faster. You need to adjust the stochastic settings to find the best settings for the Stochastic for this timeframe.

Best Stochastic Settings for 1 Minute Chart

The goal is to find the right mix so that the indicator is responsive but doesn’t give you too many false signals. To do this, you must tweak three things: the %K period, the %D signal line, and the slowing period. These adjustments help the indicator match the quick and unpredictable changes in a 1-minute chart.

In this guide, I’ll show you how to set up your stochastic oscillator to filter out the unimportant price movements and focus on the most significant opportunities for your trades.

Key Takeaways

For people who trade frequently, especially on a 1-minute chart, the Stochastic Oscillator is a useful tool. To catch opportunities in a fast market, try setting the %K period to a number between 5 and 14, the %D to 3, and the slowing to 3. This combination helps you quickly respond to market changes while still being precise enough to trust your readings.

It’s a good idea to check how these settings have performed in the past and adjust if needed. This way, you can take advantage of small changes in price to make a profit.  Remember, it’s better to rely on data and tested strategies, not just your gut feel for trades.

1 Minute Scalper’s Dilemma

1 Minute Scalper's Dilemma

When you’re trading on a 1-minute chart, finding the right settings for your stochastic oscillator can help you avoid misleading signals and accurately track market movement. As someone who trades throughout the day, you rely on this tool to tell you when prices are too high or too low (oversold/overbought).

The one-minute timeframe demands attention—you can’t afford to be random in your trading approach.  You can’t afford a trading indicator that whips back and forth.

You can use a %K period of 14 and a %D of 3 to improve the quality of the signals you get. By using these settings, you filter out the irrelevant market ‘noise’ and focus on real market trends.

Your chosen settings for the stochastic oscillator give you an advantage by making your chart more sensitive to true market changes and not just noise.

Understanding Stochastic Indicator Parameters

To really get a handle on the Stochastic indicator for improving your trading on a 1-minute chart, you should know about its main parts: %K, %D, and smoothing periods.

On a quick-moving chart, it’s important to set up your indicator to quickly pick up on real changes in price, but not so fast that it reacts to every little fluctuation, which could lead you into whipsaw trading.

The %K line shows you the current price in relation to the high-low range, but it can jump around a lot.

To make sense of this and get a clearer picture, there’s the %D line. This is basically an average of the %K, which smooths out the noise and helps you spot when the market might be too high (overbought) or too low (oversold).

By choosing the right balance of these variable and smoothing them out, you can make better decisions in the world of short-term trading and reduce the chance of being impacted false signals.

Importance of Choosing the Best Settings for 1-Minute Charts

When setting up Stochastic indicators for your 1-minute trading chart, it’s important to get it right because mistakes could lead to false signals and kneejerk trading. Trading with a 1-minute chart means you’re dealing with a lot of market noise and the pressure of time.

Choosing the correct settings will help you more accurately identify when a stock is overbought or oversold, giving you clearer signs for when to buy or sell. It’s about fine-tuning: If your settings are too high, you might miss important market movements; if they’re too low, you could be overwhelmed by meaningless market fluctuations.

To really understand the 1-minute chart, you need to combine thorough back testing with actual trading experience.

Backtesting for Optimal Performance

Before you start real-time trading using a 1-minute chart, it’s important to test different Stochastic indicator settings to see which ones improve your trading approach. Backtesting helps you find the best values for %K, %D, and slow %K that provide better signals for quick trades on a 1-minute chart.

You’re looking for settings that are robust and work well in various market scenarios, not just ones that were successful in the past. This planning helps you be proactive, not just reactive when it comes to market changes. By examining and fine-tuning your Stochastic settings, you’re setting yourself up for a better chance of success once you start trading live.

Take the time to do this in-depth testing. Your effort in finding the right settings can make a significant difference when you begin to trade in real time.

Best Stochastic Settings for 1-Minute Chart

To get better results when trading with a 1-minute chart, set the Stochastic oscillator’s %K to 14 and both %D and slow %K to 3. This setup helps you see the real trends by filtering out the minor, misleading fluctuations that often happen in such a short time frame.

Best Stochastic Settings for 1-Minute Chart

By using these settings, you’ll be more accurate in spotting when the market is too high (overbought) or too low (oversold). It’s important to note that these settings are just a starting point. As you trade more and learn how the market behaves, you should tweak these numbers to match your trading needs and the current market situation, making sure the tool works for you.

Fast moving price plus a faster setting indicator can lead to constant changes in the indicator and trading signals that fail.

For instance, if you notice too many false signals , you might want to increase the %D and slow %K values to smooth out the oscillator’s movement. On the other hand, if you’re missing out on good trading opportunities, you might need to decrease these values for a more sensitive reading.

Keep practicing, and adjust the settings to find the best fit for your trading approach.

Advanced 1-Minute Stochastic Strategies

To make the most of the Stochastic indicator on a 1-minute chart for day trading, you need to learn a few key techniques.

Adjusting oscillator settings helps you avoid unnecessary noise in the market. For instance, using a longer %K period can reduce the chance of reacting to incorrect signals. But where you really gain an advantage is in how you use these tools.

Advanced 1-Minute Stochastic Strategies

Pay attention to when the %K line crosses over the %D line, as it can indicate a possible change in momentum. However, don’t rely on this signal alone. Instead, look at the bigger picture: search for chart patterns or areas where prices have repeatedly risen or fallen (known as support and resistance levels).

Also, watch for times when the Stochastic indicator’s direction differs from the price trend, as these divergences can hint at upcoming price reversals. This can be a good time to decide whether to enter or exit a trade.

Because the 1-minute chart can change so quickly, it’s important to be quick yet careful with your decisions.


Complete Strategy Overview

This strategy uses the Stochastic Oscillator with settings of 14,3,3, ideal for capturing short-term currency movements in a 1-minute forex chart. The goal is to identify overbought and oversold conditions, signaling potential reversal points in the market.

1. Indicator Setup

  • Set the Stochastic Oscillator to %K period = 14, %D period = 3, and a slowing period = 3.
  • Use a simple moving average (SMA) of 50 periods as an additional trend filter.

2. Entry Criteria

  • Buy Signal: Look for the Stochastic lines to drop below 20 (oversold) and then cross upwards, indicating a potential bullish reversal. Confirm this with the price being above the 50-period SMA.
  • Sell Signal: Wait for the Stochastic lines to rise above 80 (overbought) and then cross downwards, indicating a potential bearish reversal. Confirm this with the price being below the 50-period SMA.

3. Exit Criteria

  • Take-Profit: Set a take-profit at a 1:1.5 or higher risk-reward ratio. For example, if your stop-loss is 5 pips, set your take-profit at least 7.5 pips away from your entry point.
  • Stop-Loss: Place a stop-loss around 5-10 pips away from the entry point, depending on the pair’s volatility.

4. Risk Management

  • Only risk a small percentage (e.g., 1-2%) of your trading capital per trade.
  • Be prepared to exit manually if the market shows signs of turning against your position.

Practical Example

Complete Strategy Overview

Scenario: Trading GBP/USD on a 1-Minute Chart

  • Price rises above 50 SMA and declines back to the SMA
  • Stochastic is oversold as price pulls back to the average
  • Price breaks a short term trend line
  • Stochastic lines make a bullish cross
  • Enter trade at cross or break of high of candlestick that causes the cross

This forex trading strategy for a 1-minute chart using 14,3,3 stochastic settings is designed for quick, short-term trades. It requires constant monitoring of the market and disciplined risk management. Always back test the strategy with historical data and in a demo account before applying it to live trading.

Stochastic Settings Across Different Timeframes and Indicators

This section looks at how these settings differ when applied to longer timeframes and how they stack up against other popular technical indicators.

1. Stochastic Settings in Different Timeframes

  • 1-Minute vs. 15-Minute Chart
    • On a 1-minute chart, traders may use a faster %K period (5-14) for rapid signals.
    • On the flip side, a 15-minute chart might use a slower %K period (around 14-20) to filter out market noise and provide more better signals.
  • Impact on Trading Strategy
    • Shorter timeframes require quicker reactions but are prone to false signals which can give you losing trades.
    • Longer timeframes offer more stability but may miss short-term opportunities (trends inside of trends).

2. Stochastic Oscillator vs. Other Indicators

  • Moving Average Convergence Divergence (MACD)
    • MACD, a trend-following momentum indicator, is more effective for identifying longer-term trends.
    • The Stochastic Oscillator excels in identifying overbought and oversold conditions in shorter timeframes.
  • Relative Strength Index (RSI)
    • RSI, like the Stochastic Oscillator, measures overbought and oversold levels.
    • RSI tends to be smoother and less sensitive to short-term price movements, making it potentially more suitable for longer timeframes.

3. Combining Indicators for Enhanced Analysis

  • Synergy with Moving Averages
    • Combining stochastic settings with moving averages can help confirm trading signals. For instance, a buy signal from a stochastic oscillator on a 1-minute chart can be confirmed by a moving average crossover can be a higher probability trading setup.
  • Complementary Use with Volume Indicators
    • Volume indicators can enhance the reliability of stochastic signals, especially in short timeframes where market noise is high.  You would need to use an FX futures charts since spot Forex does not have a centralized exchange for reliable volume information

Key Takeaways

The Stochastic oscillator helps you measure the speed and momentum of price movements during day trading, which can be very fast-paced. For a 1-minute chart, you might start with a %K period of 14, a %D value of 3, and a slow %K also set to 3 to avoid misleading signals. However, these are just initial settings, and you’ll need to adjust them based on your specific trading methods.

Combine the Stochastic indicator with other technical tools and test your strategies against past data to ensure they work well.

Conclusion

If you’re into quick trading, using the Stochastic Oscillator on a 1-minute chart can help you handle the faster price movement. For this fast-paced style, setting the %K period between 5 and 14, the %D at 3, and the slowing at 3 often works well. These settings help you get a balance between speed and accuracy.

It’s important to test these settings with past data and tweak them as market conditions change to improve your chances of success. By using these methods, you can make the most of small price movements for profit.